

Welcome to the Creatin' With Kirsteen stop on the Kr8tors June Hop!
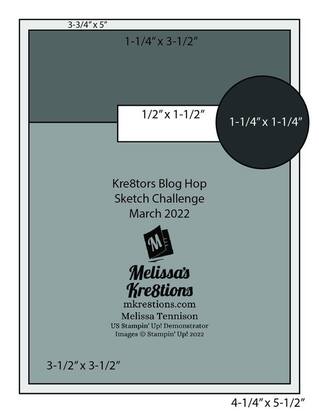
This month we are participating in a Tic Tac Toe challenge. Here is the Tic Tac Toe board:
This month we are participating in a Tic Tac Toe challenge. Here is the Tic Tac Toe board:
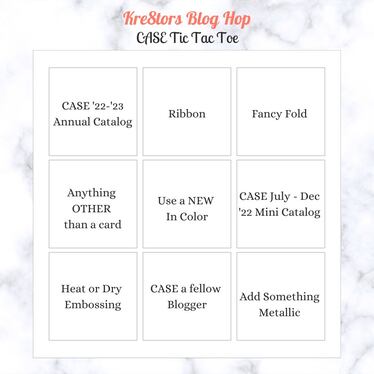
I decided to go straight across the middle of the board:
Anything OTHER than a card, Use a NEW In Colour and CASE July-Dec '22 Mini Catalog
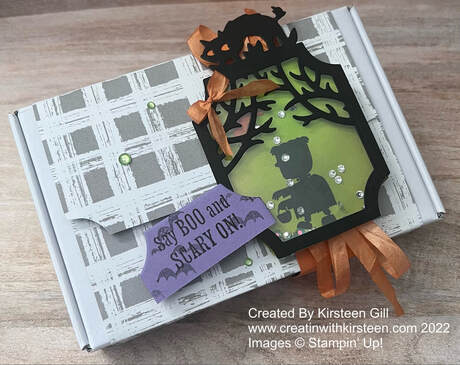
Since the July-Dec '22 Catalog is not live yet - ordering can start July, I can't share photos of the inside of the catalog on this hop until July 😔
But if you have your catalog - go to page go to page 56 and you will see the project I am CASE-ing.
It uses the Scary Cute Stamp Set and Scary Silhouettes Dies.
I don't think the project in the catalog uses Parakeet Party as the background for the shaker - but I thought it would work well behind Frank so that's my New In-Colour to meet the Tic Tac Toe.
I didn't have the Black and White Designs 12x12 Designer Paper so I used the Gingham Cottage Designer Paper instead - and you get 48 sheets of that paper in a pack!!
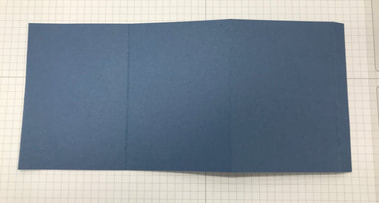
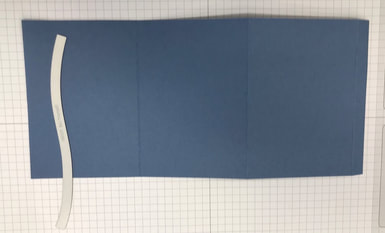
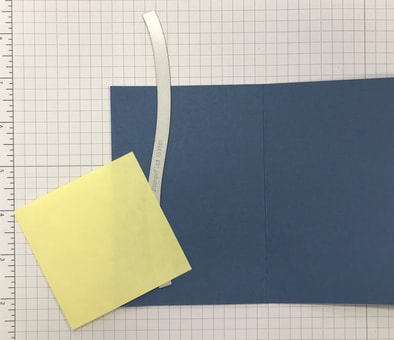
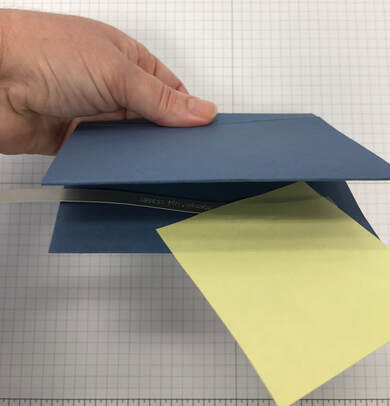
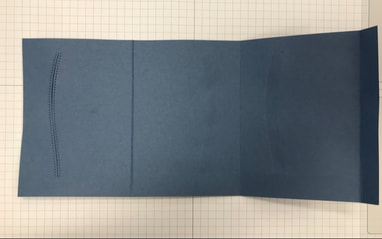
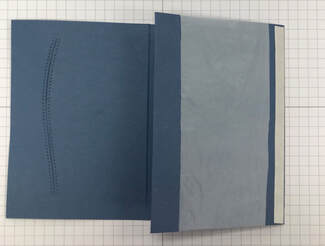
The project in the catalog is a box made with the Designer Paper but I decided to CASE the idea and make it into a Designer Paper wrap and a belly-band for a box I had that would be great to put treats in for Halloween. You can make a belly-band for any box you have - or even a bag.
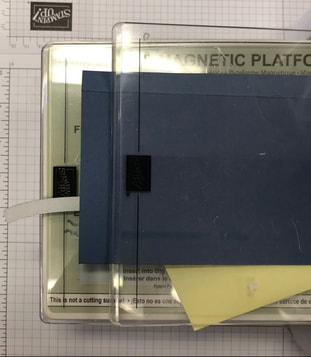
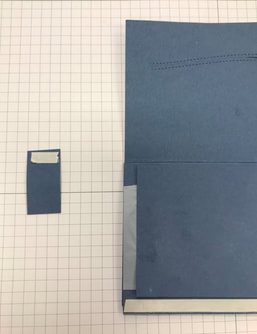
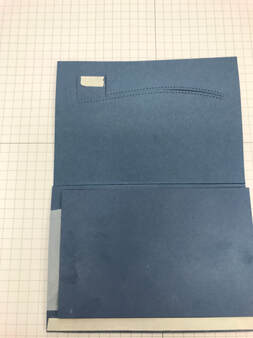
I also did not have the For Everything Fancy Sequins so I used some of my Basic Jewels and coloured them with the Parakeet Party Blends to stick to the Designer Paper and I took some of my Basic Jewels and powdered them with the Embossing Buddy from the new Embossing Additions kit - that made them not sticky so they could go in the shaker part of the project. Instead of using so much ribbon to go around the box - I added a cardstock band around the project to hold the shaker.
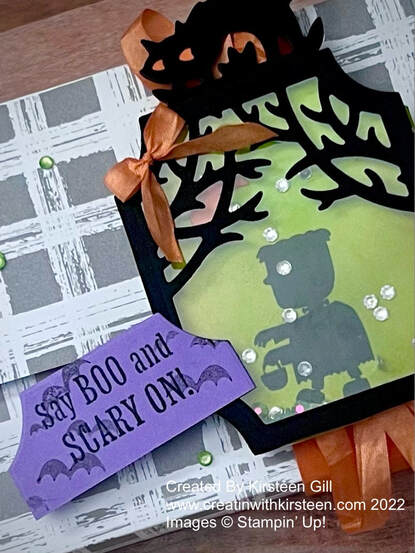
I didn't notice until I uploaded the photo here that one of the jewels has positioned itself as Franks eye!
Anything OTHER than a card, Use a NEW In Colour and CASE July-Dec '22 Mini Catalog
Since the July-Dec '22 Catalog is not live yet - ordering can start July, I can't share photos of the inside of the catalog on this hop until July 😔
But if you have your catalog - go to page go to page 56 and you will see the project I am CASE-ing.
It uses the Scary Cute Stamp Set and Scary Silhouettes Dies.
I don't think the project in the catalog uses Parakeet Party as the background for the shaker - but I thought it would work well behind Frank so that's my New In-Colour to meet the Tic Tac Toe.
I didn't have the Black and White Designs 12x12 Designer Paper so I used the Gingham Cottage Designer Paper instead - and you get 48 sheets of that paper in a pack!!
The project in the catalog is a box made with the Designer Paper but I decided to CASE the idea and make it into a Designer Paper wrap and a belly-band for a box I had that would be great to put treats in for Halloween. You can make a belly-band for any box you have - or even a bag.
I also did not have the For Everything Fancy Sequins so I used some of my Basic Jewels and coloured them with the Parakeet Party Blends to stick to the Designer Paper and I took some of my Basic Jewels and powdered them with the Embossing Buddy from the new Embossing Additions kit - that made them not sticky so they could go in the shaker part of the project. Instead of using so much ribbon to go around the box - I added a cardstock band around the project to hold the shaker.
I didn't notice until I uploaded the photo here that one of the jewels has positioned itself as Franks eye!
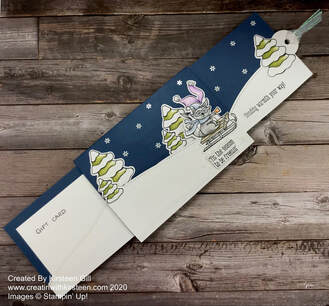
I really enjoyed making this project so I decided to make one for Christmas too. This time I used retired items I had in my Craft Room but I also used the new Window Wishes Stamp Set and the Stoybook Gnomes Designer Paper.
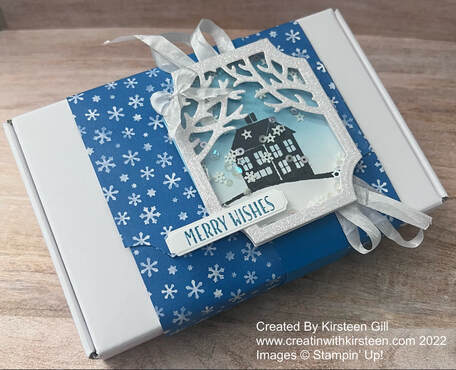
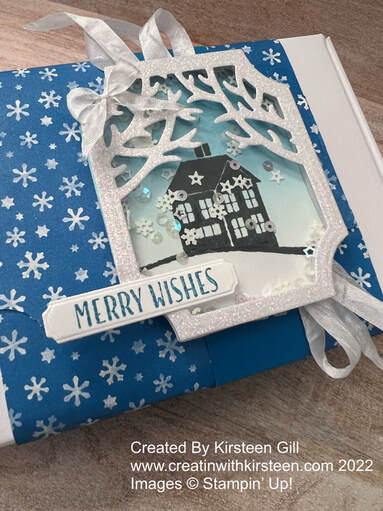
I hope you liked these projects and they inspire you to CASE items in the catalog but to also change a few things if you don't have everything you need - and then to let your imagination run and use the idea for something else too!
It is time to hop on to Tricia's Project. Click on this arrow to hop there or you can click on links in the list below.
Thanks for stopping by!
It is time to hop on to Tricia's Project. Click on this arrow to hop there or you can click on links in the list below.
Thanks for stopping by!


 Designer Series Paper")

 Cardstock")
 Crinkled Seam Binding Ribbon")


 Designer Series Paper")
 2020-2022 In Color Ribbon")
 2020-2022 In Color Ribbon")


")


 RSS Feed